When this option is selected, the Home Screen will be used as the main entry into the POS Screen.
Anyone wanting to access the Back Office section will be required to have a Clerk Log.
When the Allow Home Screen option is enabled, the Home Screen will automatically be displayed after opening the Idealpos POS screen.
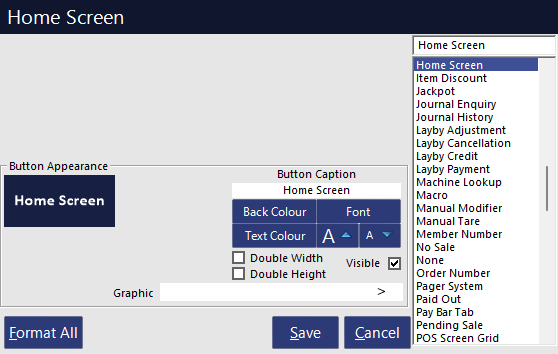
However, you may also want to create a Home Screen button to allow the operator to return to the Home Screen if required.
Go to: Setup > POS Screen > POS Screen Setup > Buttons > Create New > Select Home Screen from the Function List > Save.
When a Clerk has been added or removed from a Fast Clerk Button, this option will update all other terminals with the change.
Sometimes this will not need to be the case, as particular terminals will only want specific staff using the terminal.
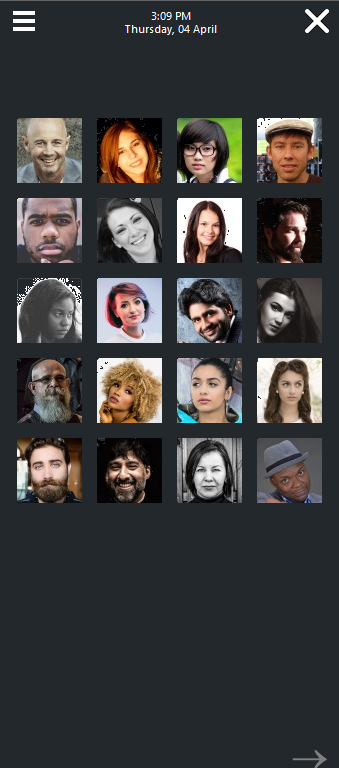
Fast Clerk Buttons are a group of buttons to the right of the Home Screen, where an image or Clerk Name can be displayed, to allow for fast clerk entry on each sale.
If there is no image for a clerk saved, only the name will be displayed.
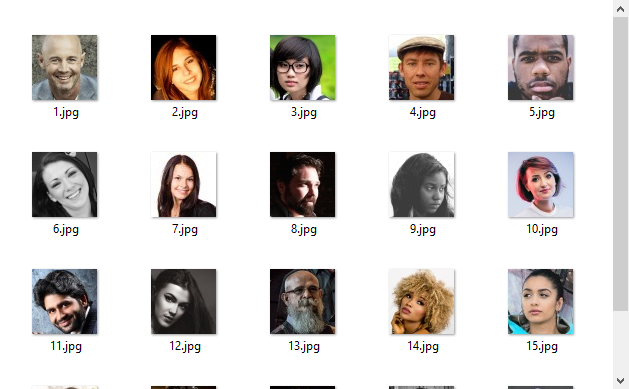
Clerk images must be saved in the C:\ProgramData\Idealpos Solutions\Idealpos\Pictures\Clerks folder.
When creating a Clerk Image, the File Name must be the same as the Clerk Code (Image size is 61 x 61 Pixels).
To add clerks to buttons, Enter the Clerk Login Code > Press the "+" button at the bottom of the Home Screen.
A button will be assigned to the entered Clerk Code.
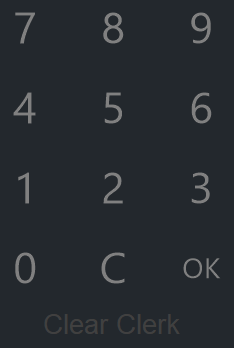
To remove a Clerk button, press the "C" button on the numeric keypad > Clear Clerk will be displayed below the numeric keypad > Press the Clerk button you wish to remove.
The Clerk button will be removed.
There may be a large amount of clerks that use a terminal each shift.
When an End of Shift function is performed, all Fast Clerk Buttons are cleared and the next shift can be assigned.
This option is only effective when the Home Screen Graphic is set to blank in the Global Options > Other Options > Home Screen Graphic.
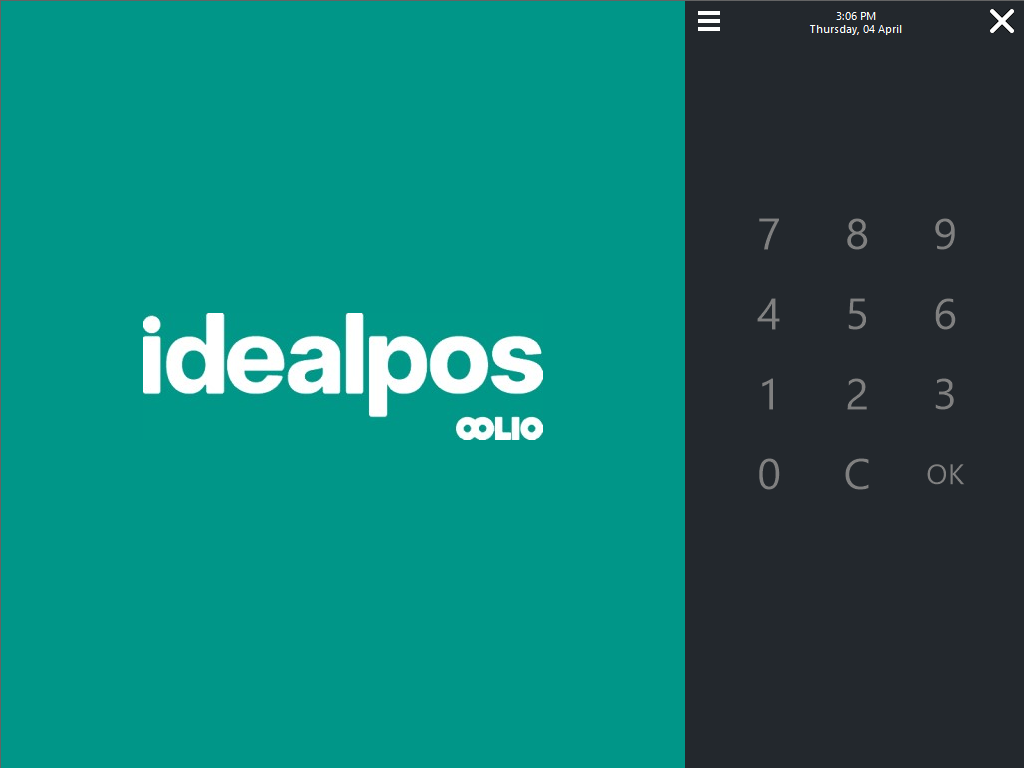
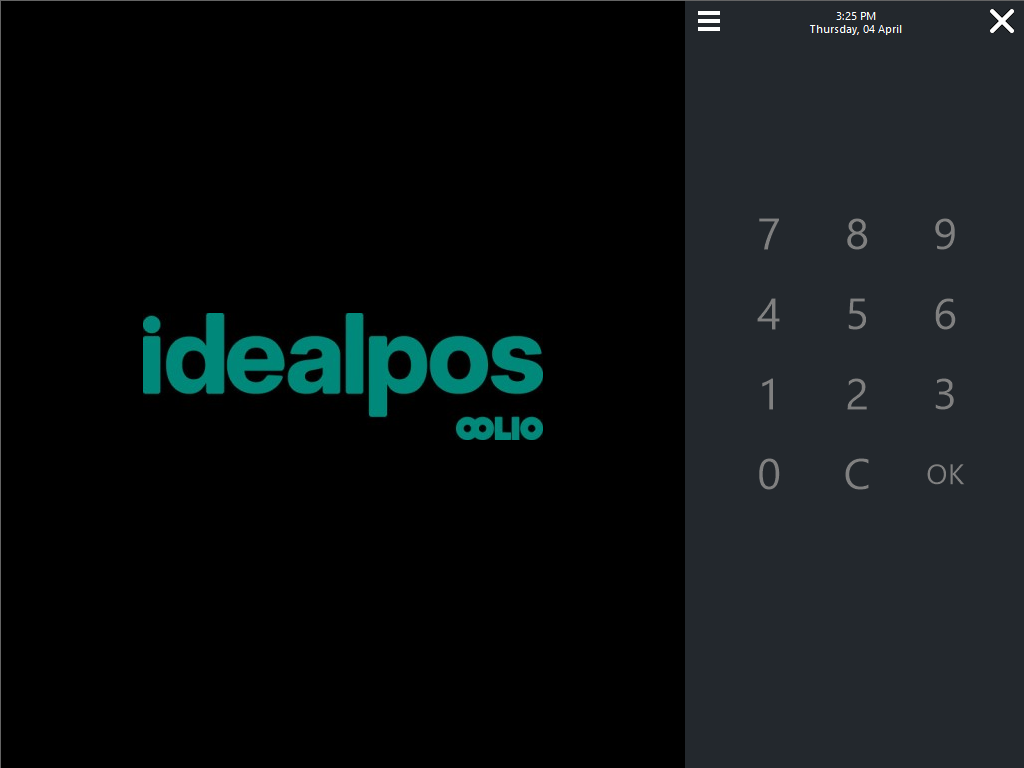
When this option is enabled and the Home Screen Graphic is blank, the Idealpos logo shown on the left-hand side will have a dark background.
Any changes to the Home Screen Graphic require a restart of Idealpos.
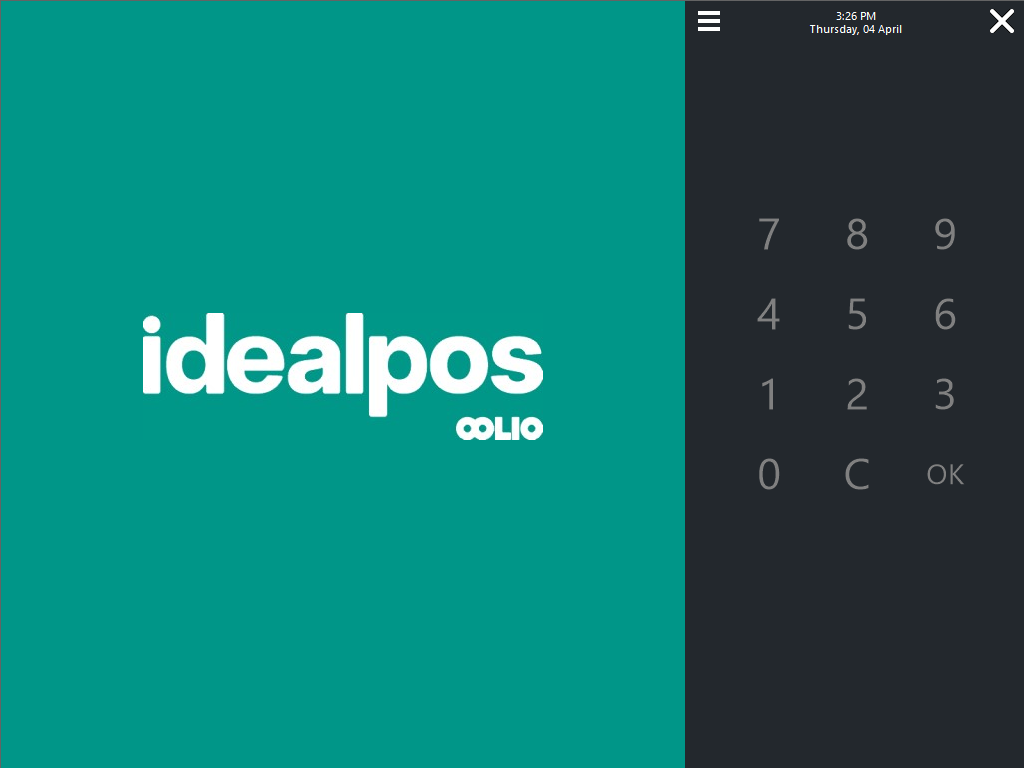
Home Screen Dark Theme enabled (with the Home Screen Graphic set to blank).
The Idealpos logo shown on the left-hand side uses a dark background.
Home Screen Dark Theme disabled (with the Home Screen Graphic set to blank).
The Idealpos logo shown on the left-hand side uses a green background.
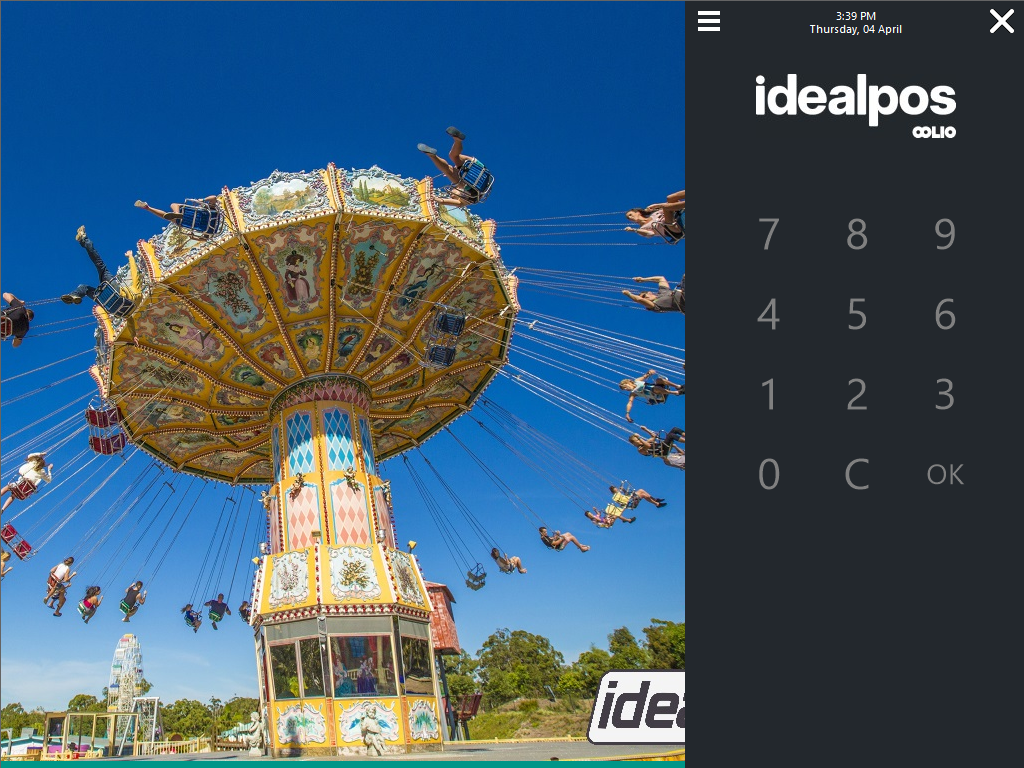
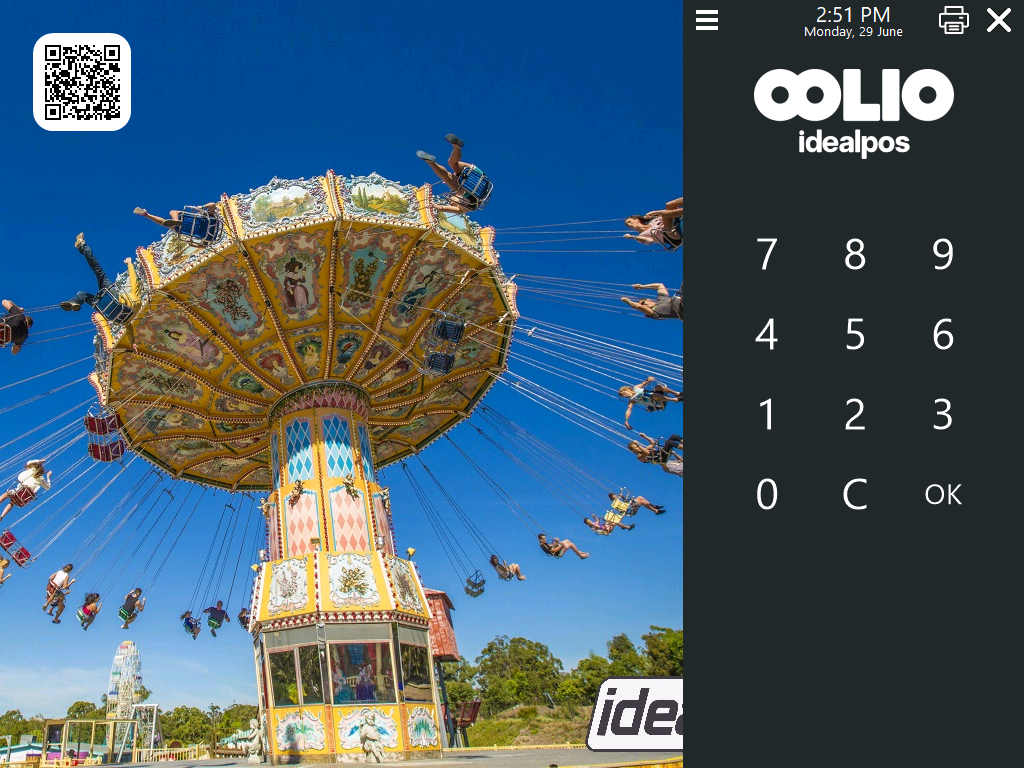
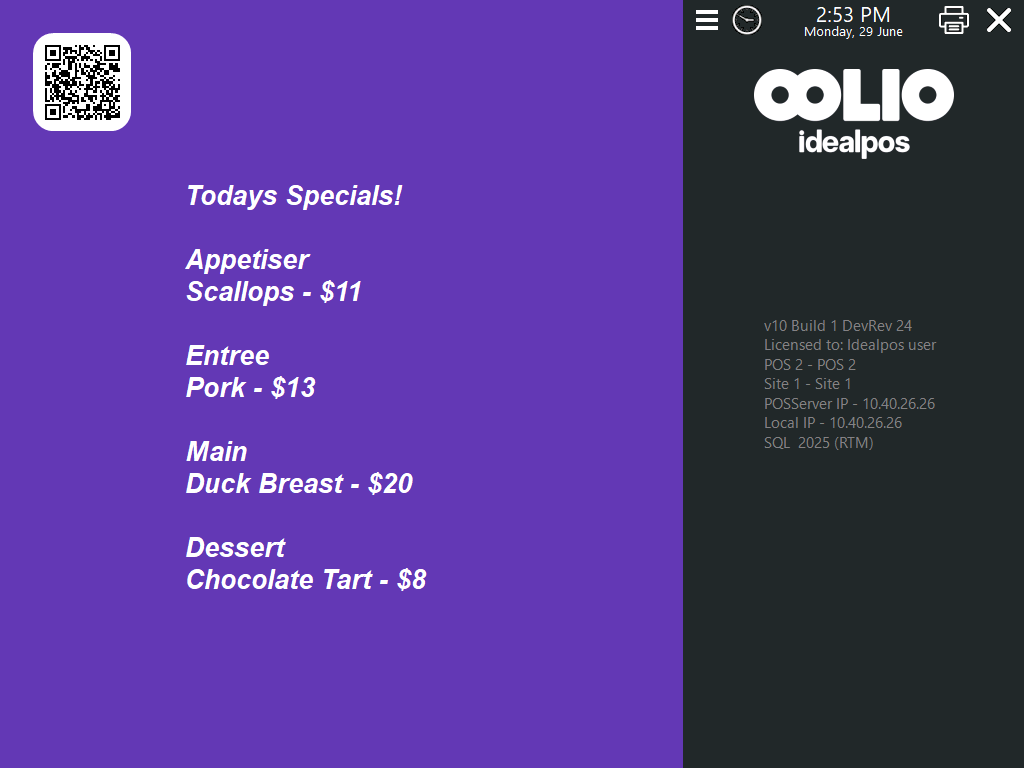
If a Home Screen Graphic is configured in Setup > Global Options > Other Options > Home Screen Graphic, then the configured Home Screen Graphic will be shown on the left-hand side of the Home Screen and the Idealpos logo will appear above the numeric keypad.
Recommended Home Screen Graphic image resolution sizes for each POS screen resolution are outlined in the Configuring the Home Screen page of the User Guide.
The Home Screen Dark Theme option does not change the appearance of the Home Screen when a Home Screen Graphic is configured.
The below shows an example of the Home Screen with a Home Screen Graphic configured:
This option forces the Home Screen to show after each sale is finalised.
If this option is disabled, Idealpos will return to the sale screen after each sale.
When this option is disabled, it is possible configure Idealpos so that the Home Screen will automatically appear when there are no items in the sale and after a time-out period has lapsed.
To configure this, go to Setup > Global Options > General > Clerk Timeout
Enter the Clerk Timeout in seconds.
Also ensure that Compulsory Clerk is disabled in Yes/No options as having Compulsory Clerk enabled will prevent the Home Screen from appearing automatically after the Clerk Timeout period lapses.
Restart Idealpos to apply the change.
This option allows for staff to log in/out from the Home Screen without the need to enter the POS Screen.
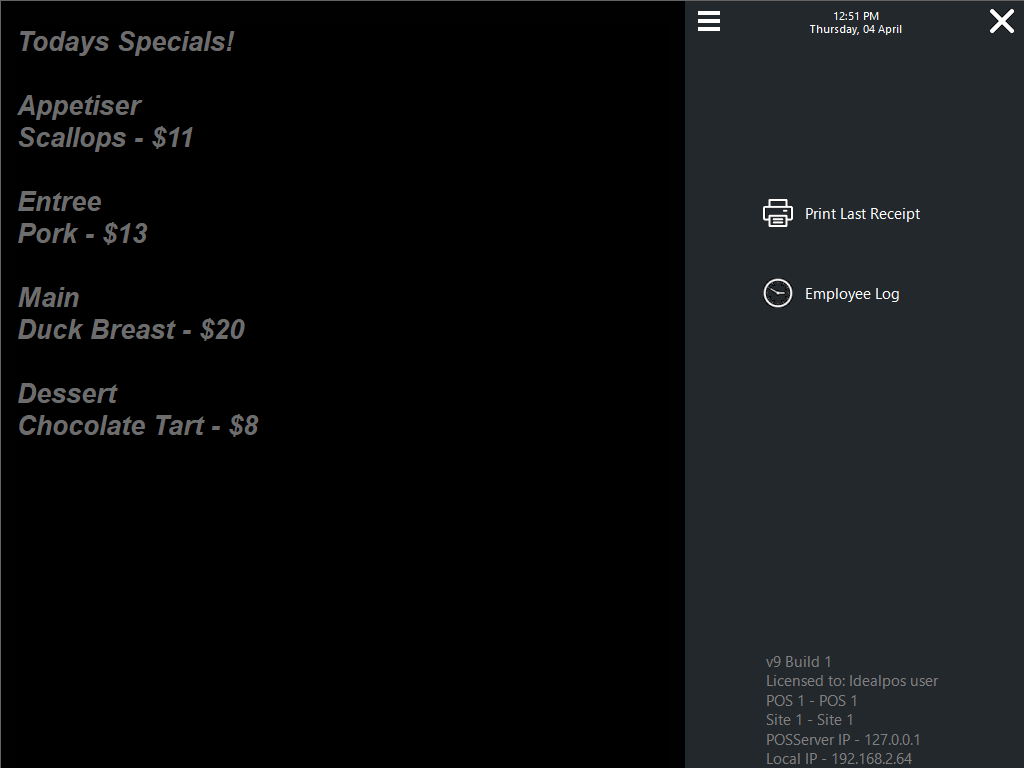
This option will display the last transaction performed for a pre-determined amount of time.
The timeout setting is determined in Global Options.